Ladies,
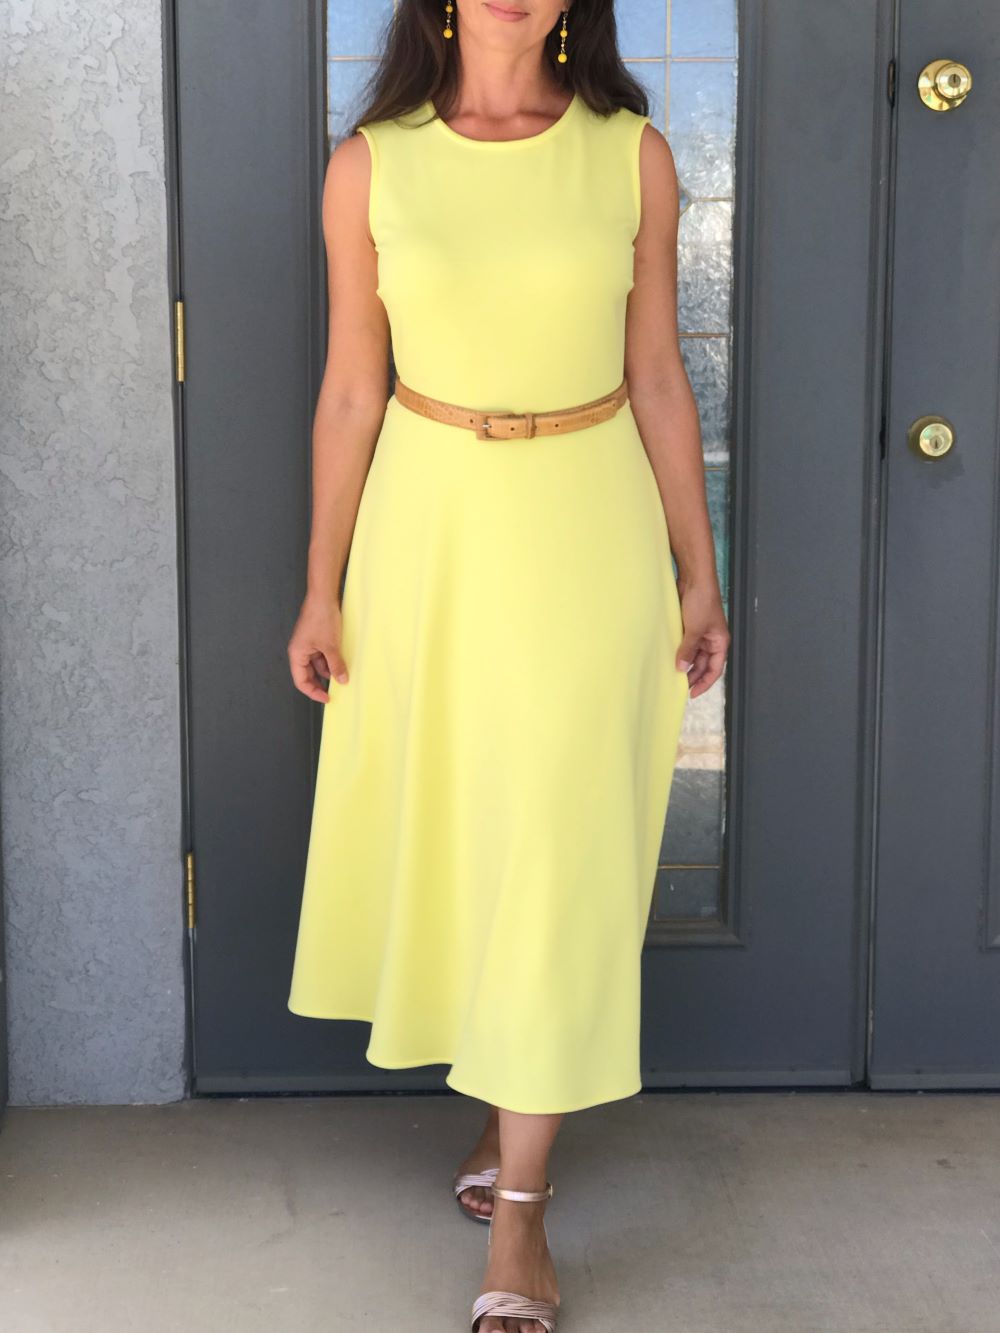
The spring sunshine brings flowers out and how much more beautiful colors in our wardrobe. Wearing happy colors can not only enhance your complexion, but it also brings cheerfulness to your family. This yellow color was one of those rare perfect yellows for my preference, vibrant but soft, not dull, not neon, not green, not mustard, not too pastel. Finding the right colors for you in quality fabrics for your project is half the battle of sewing, but these elements are what make a pattern shine.
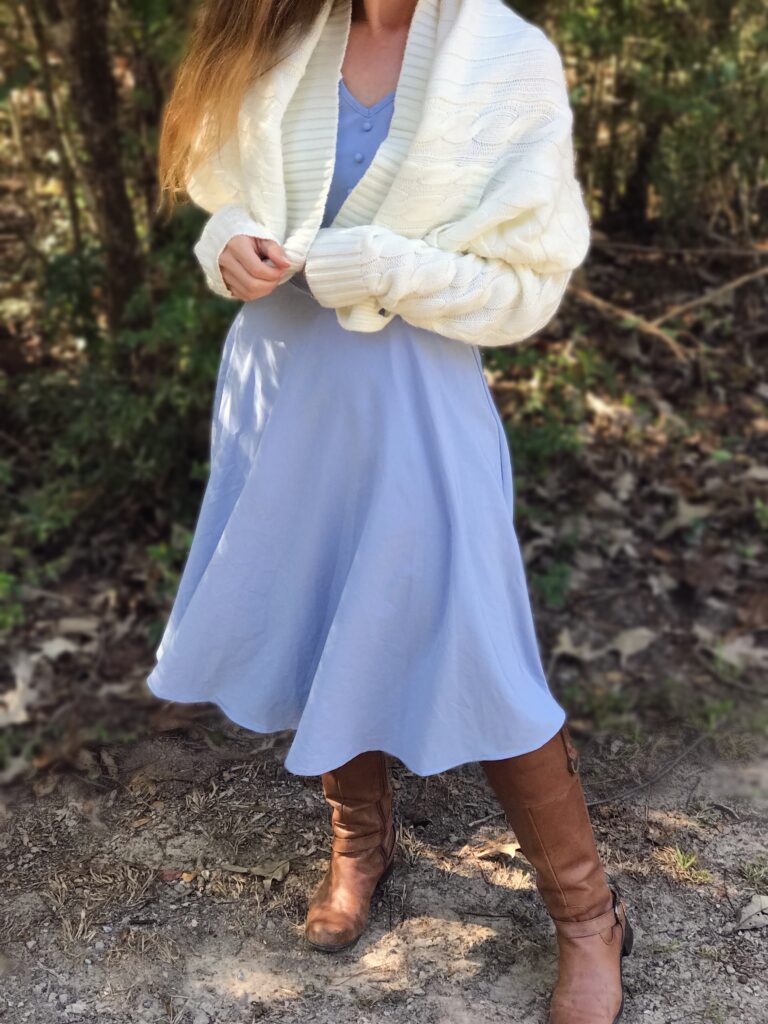
Fabric found on fabricmartfabrics.com
While I prefer sleeves, I ended up making this dress sleeveless lending it to not just springtime but to summertime. If the fabric had been lighter weight, a sleeve would have worked for summer too. But this heavier knit fabric was too warm and constricting with sleeves.
This is a dress pattern for stretch knit fabric for ultimate comfort in style. These sewing tips will help you to make this beautiful spring summer dress for your classy and feminine wardrobe.


Size Used: 12
Size notes: Size 12 fit in the armholes, sleeves and neckline. But was surprisingly too small in width of the shoulders. It was also too small for me in the bodice & skirt using the standard 5/8′ seam allowance. By using 3/8″ seam allowance in the bodice and skirt it fit exact. This ran a bit smaller than a typical sewing pattern size 12 in my opinion, probably somewhat snugger due to it being a knit fabric pattern meant for stretch knit fabric. My fabric was a stable knit, which did influence it to be more fitted rather than a stretchier/silky knit that would need the smaller fit.
Seam allowance changes: Changed seam allowance to 3/8″ for the following: Back seam of skirt, side seams of skirt, side seams of bodice, and neckline.
Seam allowance not changed: Kept 5/8″ seam allowance for the following: Shoulders, Armholes, sleeves, bodice back seam, skirt to bodice seam.

Petite & Modesty Fit Adjustments
Petite adjustments have to do with the vertical measurements of a garment. For instance, since sewing patterns are drafted for a person of a height of 5’4″ or taller, the garment will be too long in the area between the shoulders and bust for a petite person. The length of area from the base of my neck to my bust is shorter than a taller person, meaning I have to raise necklines by several inches to make them sit where it would sit on a taller person. But I also prefer higher necklines, so it is often times not just a petite adjustment, I am making a modesty adjustment for where I want a neckline to sit higher. But there are other petite adjustments that I have to do for fit, not just modesty.
The upper back was 2″ too loose around the upper back/neckline. Reduced upper back/neckline width (not height) 2″.
The bust dart was way too long, and the point sat exactly at the bust apex. I reduced bust dart by 2.5″ to sit on side of bust not on the apex.
Skirt too long. Shortened skirt 4″ for tea length (just above the ankle).
The shoulder width was significantly too narrow for my shoulders and bigger sizes would not even compensate for this narrow fit, so it was a design issue and a fit issue.
What worked without fit adjustment: No petite waist adjustment needed. The waist sat high for a non-petite pattern. Warning for anyone who is not petite. This waistline does sit high, and it seems purposeful to this dress design.

Design Adjustments
Unlike fit adjustments which have to do with how a garment fits correctly, design adjustments are changes to the style of the garment.
I did a significant re-design of the armscye so that the bodice fully enclosed my bra and bra straps and sat closer to my arm and not back from it. If I had used the original pattern for the sleeveless version my bra would have shown. I remade this bodice four times until I got the re-design correct.

I cut the skirt front pattern piece on the fold to eliminate the front seam. This made it a slightly bias-cut skirt. I did not subtract the seam allowance from the skirt front when I cut it on the fold. This gave the belly more space and it looked smooth with no tucks or ripples when sewn to the bodice. It fit me better for not being any tighter.
I aligned the back pattern piece directly below the front pattern piece in order to get the grainlines on the exact same angle. I cut the skirt back pattern piece 1″ in from the fold in order to cut 2. I would not eliminate the front skirt seam in every creation, but for certain fabric/style it looks better. The bias-cut skirts work beautifully.
Finishing the Neckline & Armband
For stable knit that is thicker like liverpool types which is what I used here, folding the neckband & armband in half as the pattern says to do does not work because it makes it too bulky. I sewed just the one-layer edge of the neckband or armband (when doing sleeveless), to the bodice edge. Then, I folded it to the inside (keeping outside fabric slightly overhanging & pressing in place) and top stitched it down 3/8″ from the edge. Then I clipped off the excess width of band on the inside.

How many times sewn this pattern: Two times.
Describe each creation: The first was View A (read about this dress here) in a Liverpool knit in an ivory background with mini black polka dot print. This dress has the long sleeve (using my even longer version of 3.75″ added length) with the tie detail. I fully lined the polka dot dress with white ITY fabric. The liverpool knit fabric has a subtle texture and is a more stable knit than other types lending it a more structured appearance, a heavier drape and is a slightly “dressier” knit compared to say, jersey knit.

The second make was View C in a Liverpool like knit (solid yellow) and the shoulder issue and bust dart issue were such severe and obvious problems in a solid color that I had to scrap the entire bodice to widen the shoulders & reduce the bust dart and remake the yellow bodice with the fit adjustments. I lined the skirt with a white light weight polyester interlock lining fabric. I did not line the bodice.
What I love about this dress pattern
This crew neckline is a beautiful shape and very flattering. I love how my sleeveless bodice fits by fully covering my bra. This silhouette of dress is one of my go-to for any dress I make. When fitted correctly, this shape does not add bulk to my belly or hips. The shape is neither too slim nor too poofy. It has a good amount of fabric to give it swish but retains a sleek look.

Pattern Instruction likes or dislikes
Every step was clear and easy to understand. Instructions produced exact results when followed.
What I dislike about this pattern: Nothing disliked. Except the fact that the shoulders seemed significantly narrow, which would be a good thing for a narrow-shouldered woman.
Difficulty Level: This is not a difficult pattern, but any fit adjustments and re-designing are what take knowledge to do correctly. This is a good pattern for a beginner to learn how to do those kinds of adjustments, if needed at all for the individual.
Most Challenging Part: The neckband needs to be sewn extremely carefully on the curves so that it maintains alignment with the bodice edge. Every stitch needs to be in a straight line along the guide. Any slight veer off the guide or any fabric shifting out of alignment along edge will show in the neckband looking wider or narrower in places. The top stitching needs to be done very straight, so it does not look crooked along neckline. I find that top stitching in a zigzag stitch is far more forgiving than a straight stitch which shows any movement of the needle out of line. Pin in excess and go slow. I redid this neckline top stitching many times before it looked acceptable as it was a straight stitch and showed any flaw easily.

Would I sew it again: Yes, and I would like to make many more now that my fit adjustments have been made. This dress comes together quickly.
Happy sewing!
WHATEVERLOVELY.COM
CHRISTIAN LIVING – FASHION – HOME
Leave a Reply